The Complete DIY Handbook: Step-by-Step Guide to Building and Configuring Your Own FreeNAS Server from Scratch
Getting Started: Why You Need a NAS Server
In today’s digital age, managing and storing your data efficiently is more crucial than ever. Whether you’re a home user with a plethora of media files or a small business needing a reliable storage solution, a Network-Attached Storage (NAS) server is the perfect answer. FreeNAS, an open-source NAS operating system, offers a powerful and flexible way to build your own NAS server. Here’s why you should consider building one:
- Centralized Storage: A NAS server allows you to store and manage all your data from a central location, making it easier to access and share files across your network.
- Data Protection: With features like RAID and snapshots, a NAS server provides robust data protection, ensuring your files are safe from hardware failures and accidental deletions.
- Cost-Effective: Building your own NAS server using FreeNAS can be significantly cheaper than purchasing a commercial NAS device.
- Customizability: You can tailor your NAS server to meet your specific needs, whether it’s for file sharing, media streaming, or even self-hosting services.
Choosing the Right Hardware for Your NAS Build
Before you start building your NAS server, you need to select the right hardware components. Here are some key considerations:
Additional reading : Achieve Flawless 4K Streaming: Essential Firmware Enhancements for Your Intel NUC 8
CPU and Motherboard
- CPU: A mid-range CPU is sufficient for most NAS tasks. Look for something with multiple cores to handle concurrent requests efficiently.
- Motherboard: Ensure the motherboard supports your chosen CPU and has enough SATA ports for your hard drives.
Hard Drives
- Storage Capacity: Calculate your storage needs based on the amount of data you want to store. Multiple hard drives can be used to create a RAID setup for redundancy and performance.
- Drive Type: For a NAS build, it’s recommended to use hard disk drives (HDDs) rather than solid-state drives (SSDs) due to their higher storage capacity and lower cost per GB.
Memory (RAM)
- ECC RAM: Error-Correcting Code (ECC) RAM is highly recommended for a NAS server to ensure data integrity and prevent corruption.
Power Supply
- Power Efficiency: Choose a power supply that is efficient and can handle the power requirements of your system. A 300-400W power supply is usually sufficient for most NAS builds.
Other Components
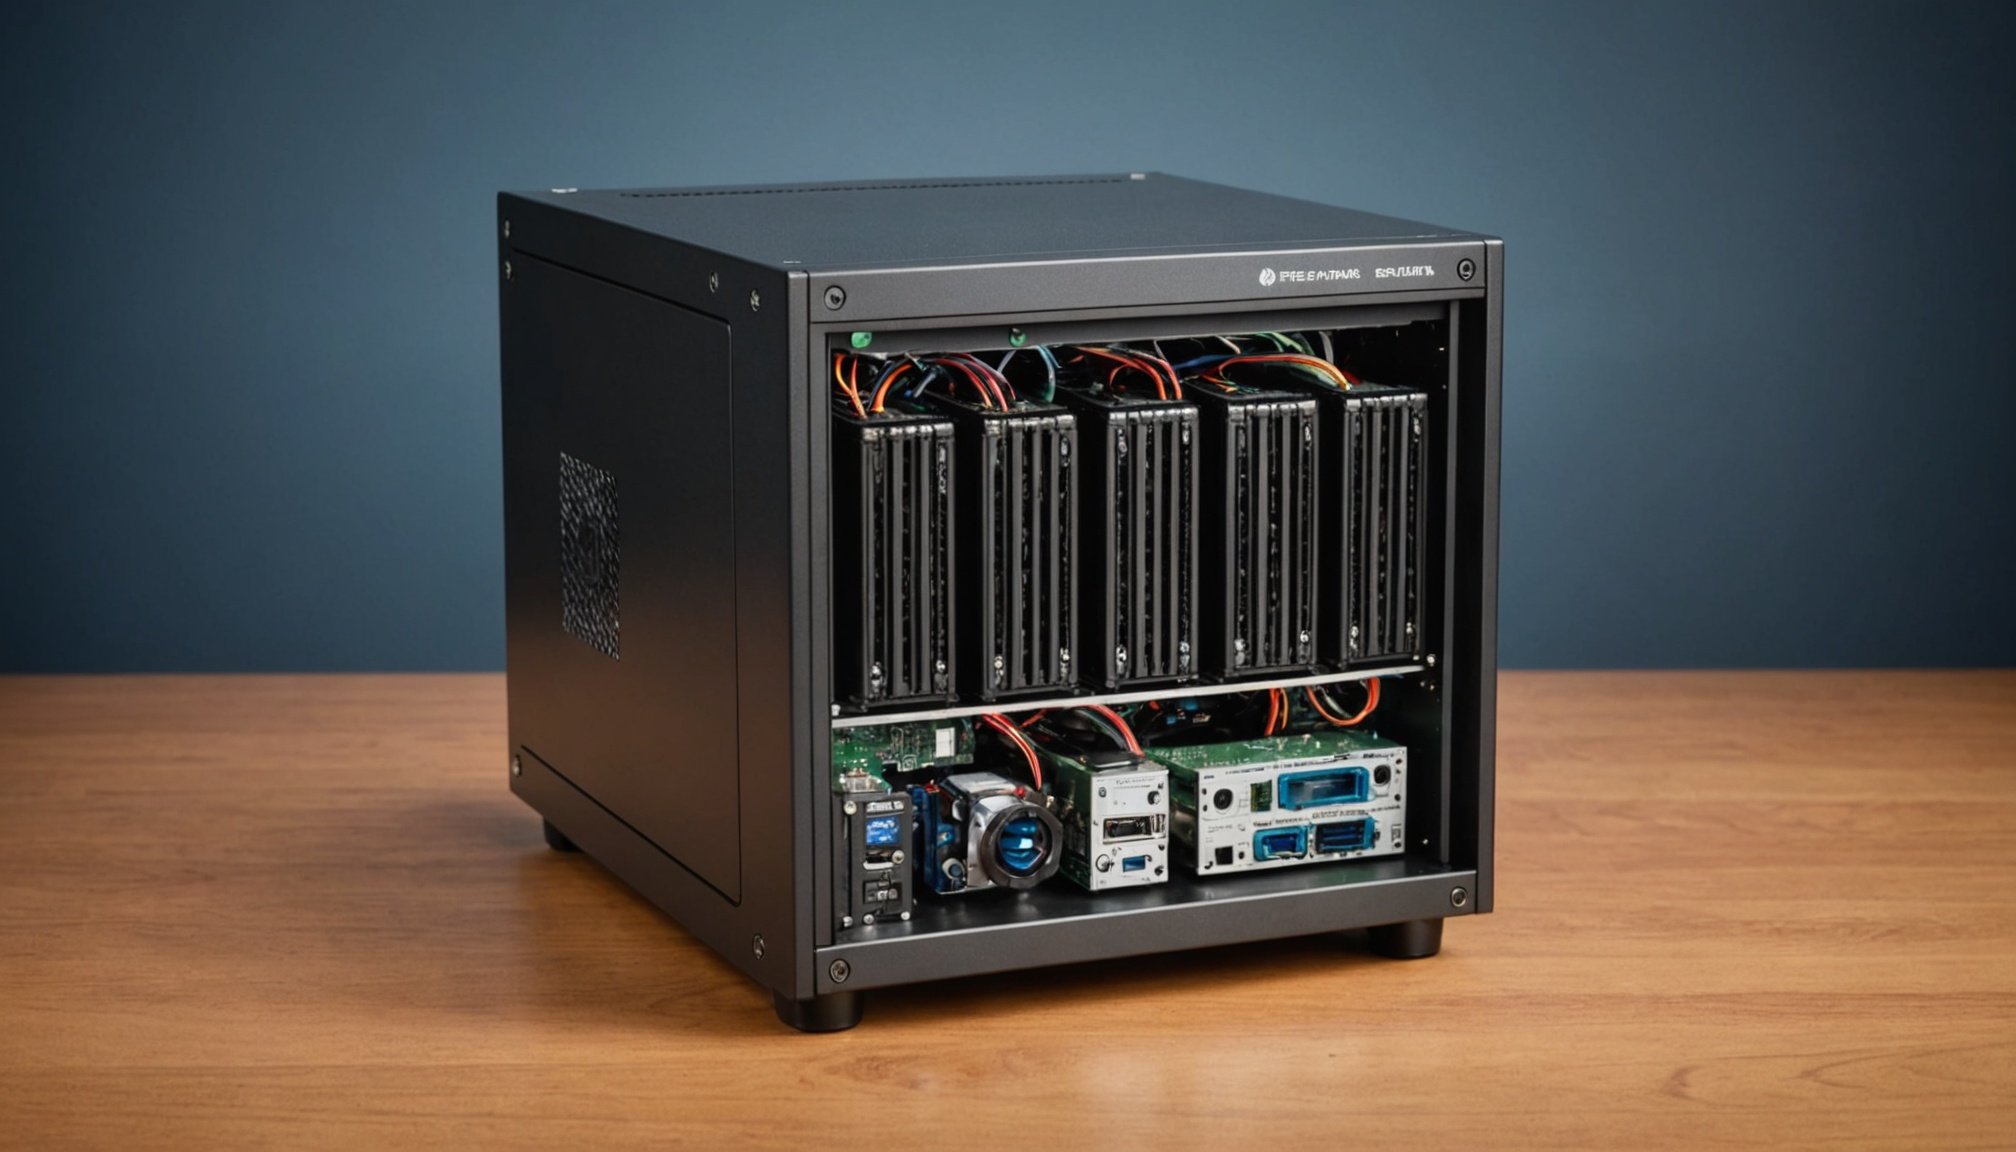
- Case: Select a case that is well-ventilated and has enough room for your hard drives.
- Cooling: Ensure proper cooling to keep your components at a safe temperature.
Step-by-Step Guide to Building Your FreeNAS Server
Assembling the Hardware
- Unpack and Prepare Components:
- Carefully unpack all your hardware components and ensure you have all the necessary screws, cables, and other accessories.
- Install the CPU and Motherboard:
- Mount the CPU on the motherboard, apply thermal paste, and install the CPU cooler.
- Connect the necessary cables such as power, fan, and USB connectors.
- Add Hard Drives:
- Install your hard drives into the drive bays and connect them to the SATA ports on the motherboard.
- Install Memory (RAM):
- Insert the ECC RAM into the appropriate slots on the motherboard.
- Connect Power Supply:
- Connect the power supply to the motherboard, hard drives, and any other components that require power.
- Final Assembly:
- Place the motherboard into the case, connect all necessary cables, and ensure proper airflow.
Installing FreeNAS
- Download FreeNAS ISO:
- Download the latest FreeNAS ISO from the official TrueNAS website.
- Create a Bootable USB Drive:
- Use a tool like Rufus to create a bootable USB drive from the ISO file.
- Boot from USB Drive:
- Insert the USB drive into your NAS server and boot from it.
- Follow Installation Wizard:
- Follow the on-screen instructions to install FreeNAS on your system.
Configuring Your FreeNAS Server
Initial Configuration
- Access Web Interface:
- Open a web browser and navigate to the IP address displayed on the console setup menu screen to access the FreeNAS web interface.
- Set Up Network Settings:
- Configure your network settings, including IP address, subnet mask, gateway, and DNS servers[4].
Creating ZFS Pools and Datastores
- Initialize Disks:
- Initialize all disks you want to use for the datastore with GPT using the GUI or command line (
sgdisk /dev/sdX)[1].
- Create ZFS Pool:
- Create a ZFS pool via the GUI, selecting the desired RAID level (e.g., RAID-Z2, RAID-10) and configuring compression and block size settings.
- Create Datastore:
- Once the ZFS pool is created, it will automatically be included as a backup datastore in FreeNAS.
Setting Up User Permissions and Access Control
- Create Users:
- Create additional users and assign permissions under
Configuration > Access Control > User Management. By default, new users have theNoAccessrole[1].
- Assign Permissions:
- Assign permissions to users at the datastore level to control access to different datasets.
Configuring Backup and Retention Policies
- Set Retention Periods:
- Configure retention periods and garbage collection settings under
Datastore > pbs-local > Prune & GC. Use the Proxmox Prune Simulator to find the optimal settings[1].
- Schedule Prune:
- Set the prune schedule to maintain the desired number of backups without creating a load on the storage.
Adding Services and Applications
Setting Up File Sharing
- Enable File Sharing Protocols:
- Enable protocols like SMB, NFS, or AFP depending on your needs.
- Create Shares:
- Create shares for different folders and datasets, ensuring the correct permissions are set.
Installing Media and Download Services
Here’s an example of how to set up services like Plex and Sonarr using jails in FreeNAS:
iocage create -n "plex" -r LATEST dhcp=1 bpf=1 vnet=1 allow_raw_sockets="1" boot="on"
iocage exec plex pkg install -y plexmediaserver
iocage fstab -a plex /mnt/myVol/apps/plex /config nullfs rw 0 0
iocage fstab -a plex /mnt/myVol/media /mnt/media nullfs ro 0 0
This script creates a jail for Plex, installs the necessary packages, and mounts the storage directories[2].
Best Practices for Your NAS Build
Regular Updates and Maintenance
- Firmware Updates: Regularly update the firmware of your hard drives and other components to ensure you have the latest features and bug fixes.
- Software Updates: Keep your FreeNAS software up-to-date to benefit from new features and security patches.
Data Backup and Recovery
- Offsite Backups: Ensure you have offsite backups of your critical data to protect against physical disasters.
- Snapshotting: Use ZFS snapshots to create point-in-time backups of your data.
Power and Cooling
- Power Supply Redundancy: Consider using a redundant power supply to ensure your server stays online even if one power supply fails.
- Cooling Systems: Ensure proper cooling by using fans and possibly liquid cooling solutions to keep your components at a safe temperature.
Troubleshooting Common Issues
Network Connectivity Issues
- Check Connections: Ensure all cables and connections are secure. Loose or faulty connections can cause data access issues and lead to potential data loss[3].
- Network Settings: Verify that your network settings are correctly configured and that both devices are on the same network.
Data Corruption and Recovery
- Use Safely Remove Hardware: Always use the “Safely Remove Hardware” option before disconnecting your NAS drive to prevent data corruption caused by improper ejection[3].
- Consult Professional Services: If you’re unable to recover data using DIY methods, consider consulting professional data recovery services.
Building and configuring your own FreeNAS server is a rewarding DIY project that offers you complete control over your data storage and management. By following the steps outlined above, you can create a robust and reliable NAS server that meets your specific needs.
Key Takeaways
- Customization: FreeNAS allows you to customize your NAS server to fit your specific requirements.
- Cost-Effectiveness: Building your own NAS server can be significantly cheaper than purchasing a commercial NAS device.
- Data Protection: Features like RAID, snapshots, and offsite backups ensure your data is well-protected.
- Community Support: The FreeNAS community is active and supportive, providing numerous resources and guides to help you troubleshoot and optimize your setup.
By investing time and effort into building your own FreeNAS server, you can create a powerful and flexible storage solution that will serve you well for months and years to come.
Practical Insights and Actionable Advice
Example Configuration Table
| Component | Recommendation |
|---|---|
| CPU | Mid-range CPU with multiple cores (e.g., Intel Core i3 or i5) |
| Motherboard | Motherboard with sufficient SATA ports and ECC RAM support |
| Hard Drives | Multiple HDDs for RAID setup (e.g., 4x 4TB HDDs for RAID-Z2) |
| Memory (RAM) | ECC RAM (e.g., 16GB or 32GB) |
| Power Supply | Efficient power supply (e.g., 300-400W) |
| Case | Well-ventilated case with room for expansion |
| Cooling | Fans and possibly liquid cooling solutions |
Detailed Bullet Point List for Initial Configuration
- Access Web Interface: Open a web browser and navigate to the IP address displayed on the console setup menu screen.
- Set Up Network Settings: Configure IP address, subnet mask, gateway, and DNS servers.
- Initialize Disks: Initialize all disks with GPT using the GUI or command line.
- Create ZFS Pool: Create a ZFS pool with the desired RAID level and configuration settings.
- Create Datastore: Automatically include the ZFS pool as a backup datastore in FreeNAS.
- Create Users and Assign Permissions: Create additional users and assign permissions at the datastore level.
- Configure Backup and Retention Policies: Set retention periods and garbage collection settings using the Proxmox Prune Simulator.
By following these steps and best practices, you can build a reliable and efficient NAS server that will serve as the backbone of your home or small business network.


